描述
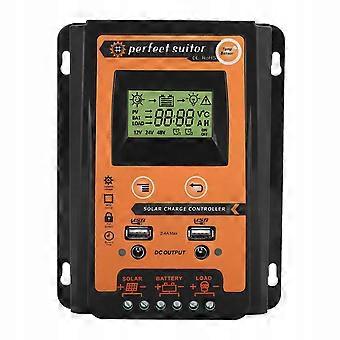
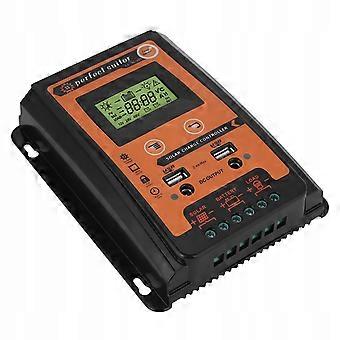
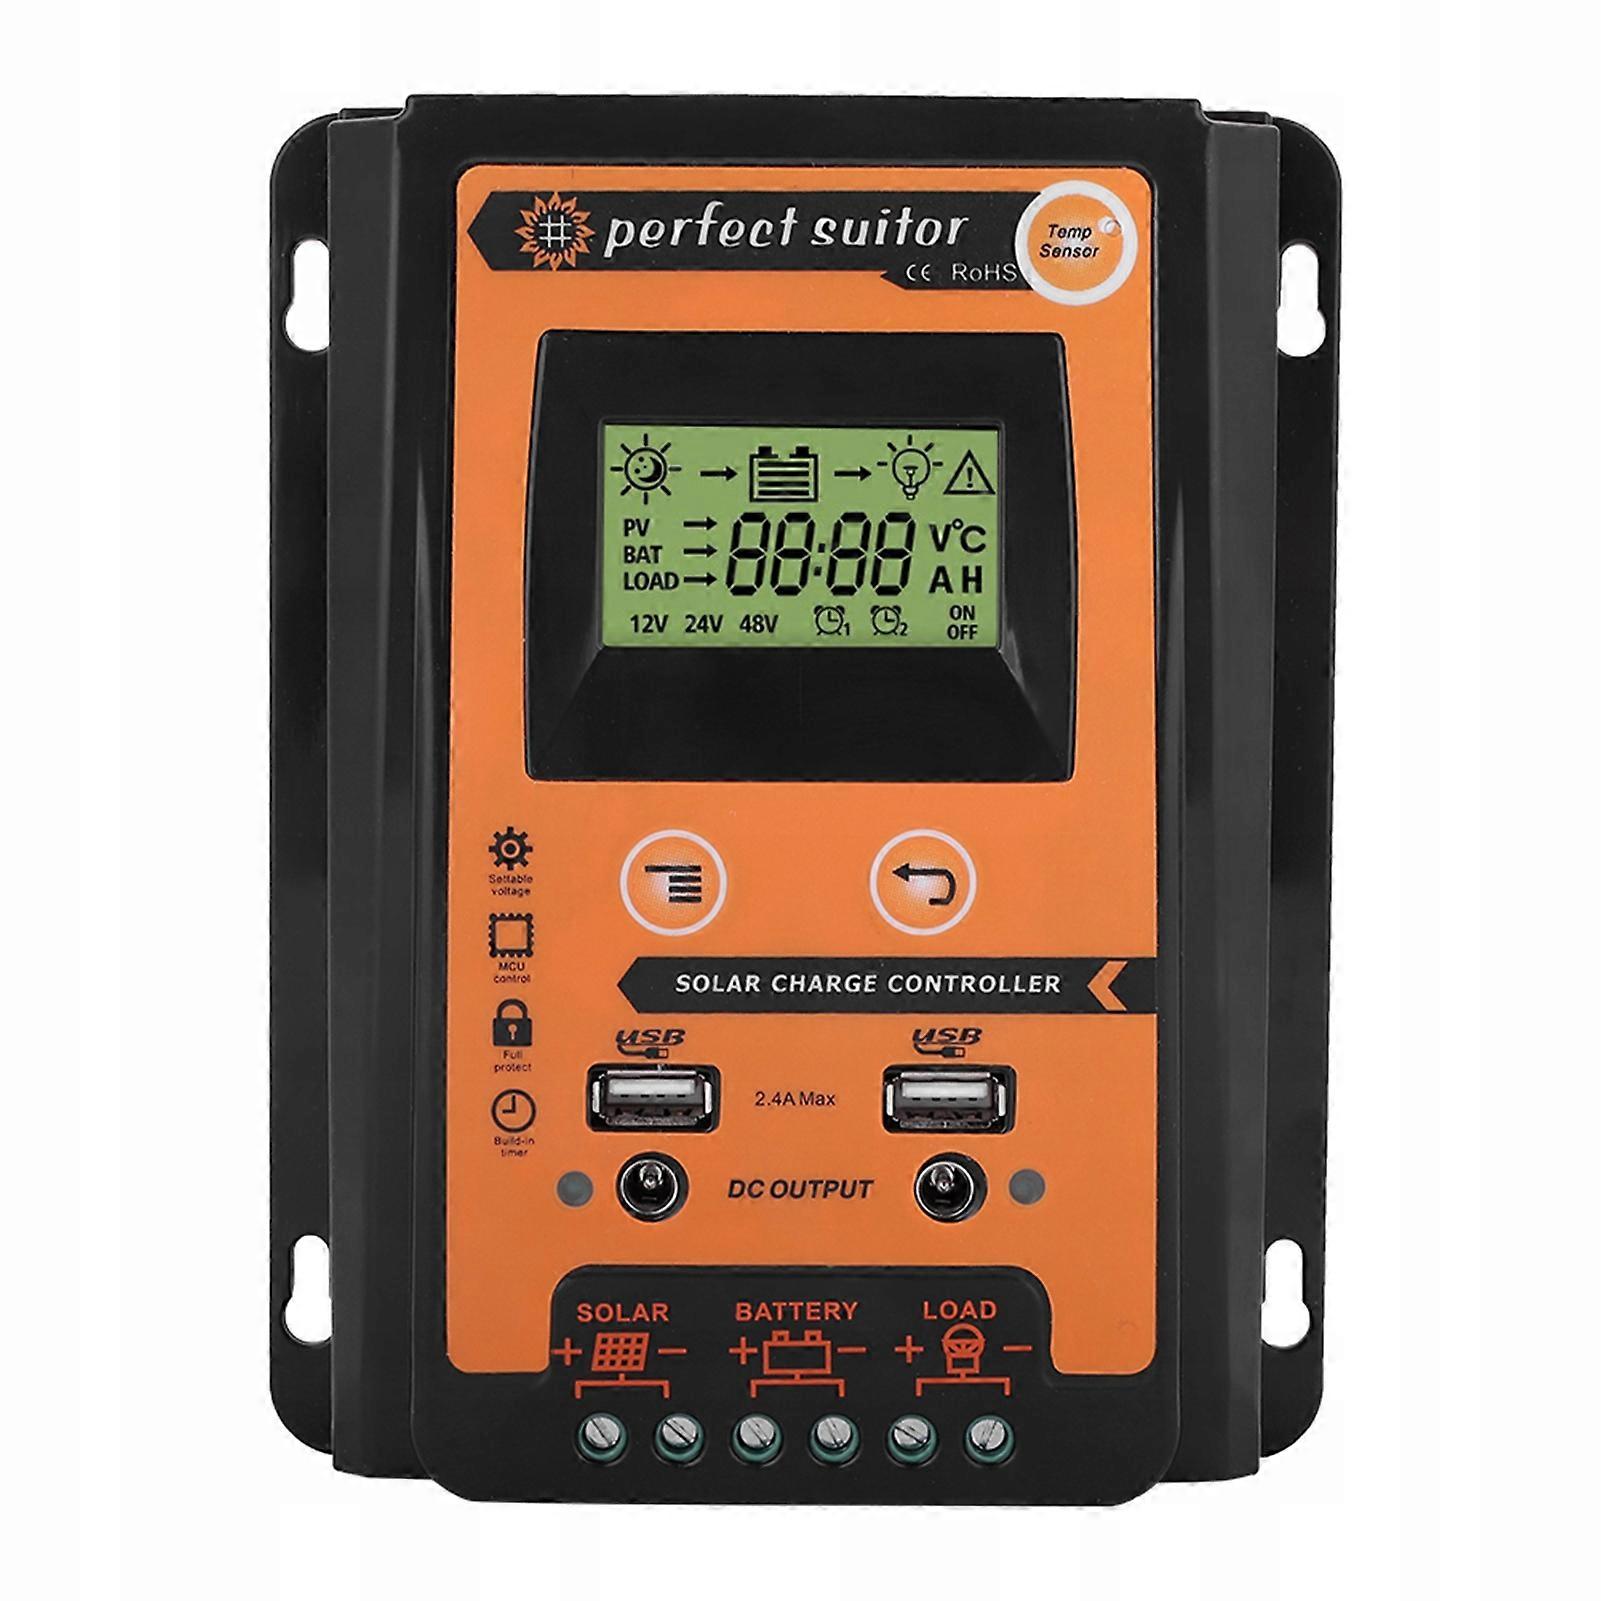
SOLAR MPPT CHARGING CONTROLLER Functions:
Voltage in automatic identification system, automatic recognition 12/24 V.
Humanized display on LCD screen and operation with two buttons of human-machine interface.
Completed technical data for configuration and modification.
You can choose the load control mode, the timer function can be reset for street lighting at night.
Control of discharge efficiency.
Discharge counter in ampere hours.
Working storage function: record the total operating time of the system, record error times during operation, record the times of full battery charge.
Reliable surge protection, short-circuit protection, overload protection, overcharge protection, over-discharge protection.
Accurate temperature compensation, automatic correction of charging and discharging voltage, improving battery life.
Round reverse protection.
Solar panels, battery, positive poles of solar charging controller are connected together, adopting negative MOSFET in serial control circuit.
Technical data:
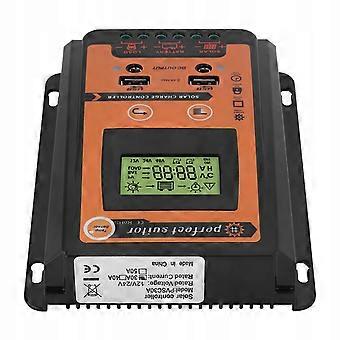
Current: 30A Rated voltage: 12/24 V. USB Output: 2,4A*2 Excess charging current (V): 13,7V/*2 24V. Excess Discharge Current (V): 10,5-11V/*2 24V. Temperature compensation: -3mv / ℃ / cell Empty Waste Load: Voltage drop in the loop: Display: LCD display Charging Type: MPPT Waterproof Class: IP32 Material: plastic Color: Black + Orange Size: 17,5 * 14 * 4 cm / 6,9 * 5,5 * 1,6 inch (30 A) Package Weight: 480g-1284g List of packages:
1 * Solar Charging Controller
1 * User Manual English
1. The controller's task is to protect the overvoltage and overvoltage.
Excellent performance: This printer print head has clear resolution, strong layering, good compatibility and smooth printing effect. When the battery voltage is too low, the controller stops the output power; after charging the solar panel, the cell returns to 12,6 V.
3. 12,6 V is the recovery discharge voltage.
4. The normal voltage of the controller is from 10,7 V to 13,7 V. These two voltage fluctuations can be set manually.
If you have problems with use, try adjusting the float voltage to 13,7 V:
First you need to press the MCU control button for about 3-4 seconds, then the management interface will appear on the screen.
Secondly, you need to press the add button on the screen until the voltage reaches 13,7V.
Finally, press the MCU control button again, which will save the controller record data when the display does not flicker.
Please be aware:
-
Fruugo ID:
350914611-765051897
-
EAN:
6931675739183